Getting Started with ArcGIS Pro for Personal Devices
This page will walk you through the process of installing and licensing ArcGIS Pro on your personal computer. Before installing or upgrading ArcGIS Pro, ensure that your system meets the minimum requirements to run it. Please check Esri’s support page for ArcGIS Pro 3.0 system requirements to verify the operating system and other environment prerequisites are met.
ArcGIS Pro for personal devices
ArcGIS Pro is supported on the Microsoft Windows operating systems but if you are interested in installing the software on a Mac please first refer to the guide in the ArcGIS Pro on Mac section which provides an overview of options for running ArcGIS Pro on your Mac.
Download Instructions
Step 1
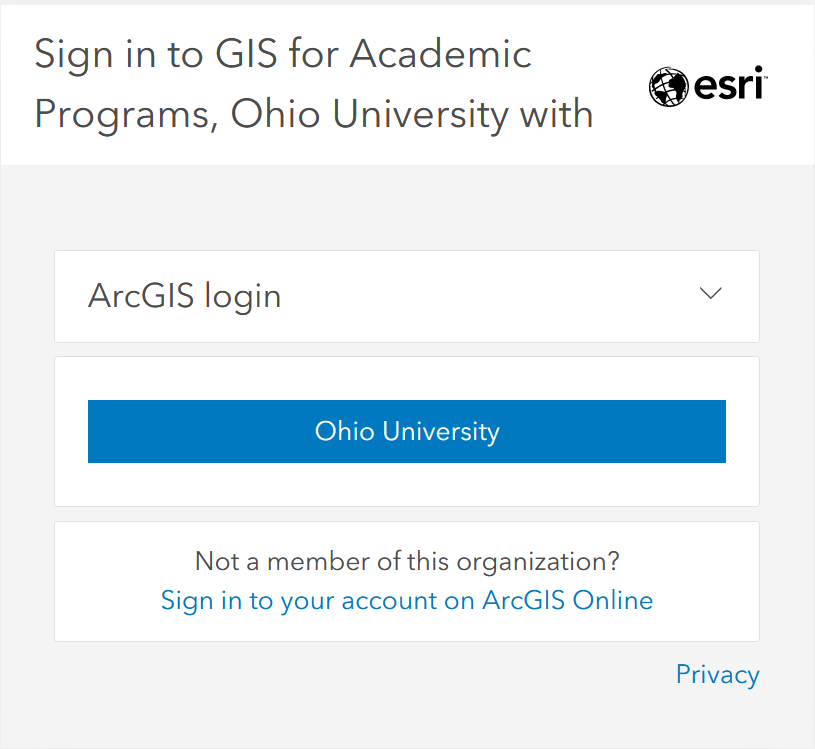
Go to Ohio University ArcGIS Online (https://arts-sciences.maps.arcgis.com)
Step 2
Select the Ohio University button, and when prompted, enter your OHIO ID and password
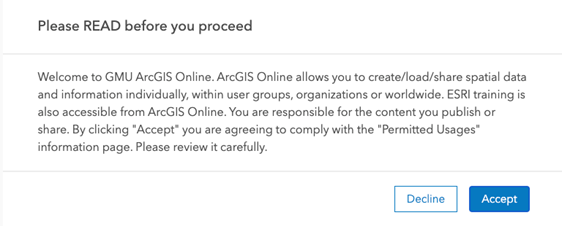
Step 3
Read and review the Permitted Usages information then select Accept.
Step 4
At the top right-hand corner of the page, select your user name then select My settings

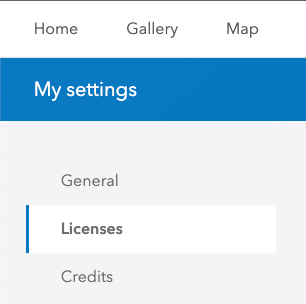
Step 5
Select the License tab in My settings
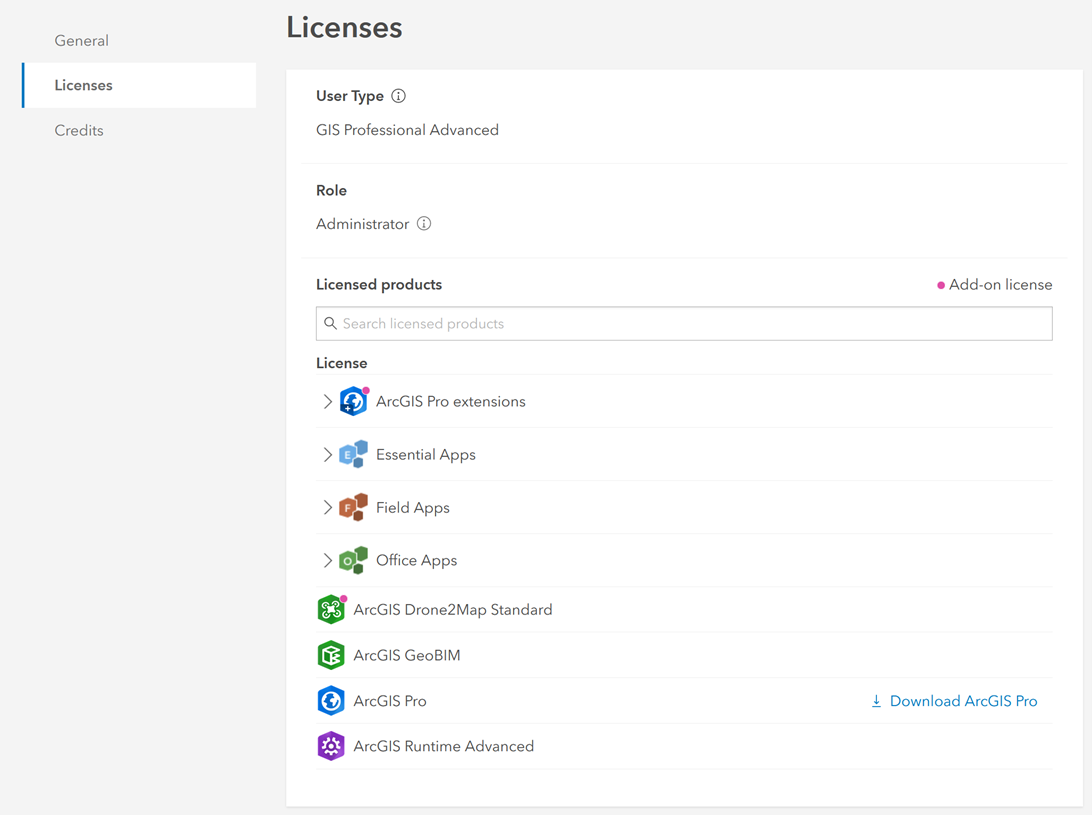
Step 6
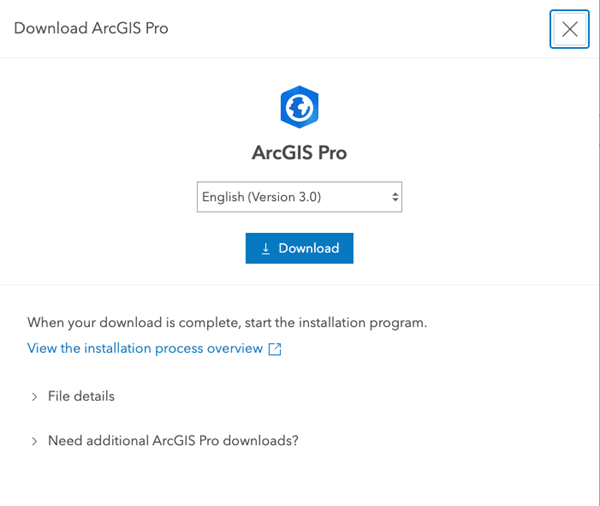
Select Download ArcGIS Pro
Step 7
Select a language then select Download
ArcGIS Pro Installation Instructions
You will need administrator rights on your computer to complete the installation. Select the executable download to start the download. Before installing, please ArcGIS PRO 3.0 for Windows installation guide and run Esri’s Can You Run It? tool to verify that the computer on which you are installing it meets the minimum requirements.
ArcGIS Pro 3.0 requires the following components before installation:
- .NET 6 Desktop Runtime x64 download
- Microsoft Access Database Engine 2016 Redistributable 64-Bit driver for Excel download (if you do not have a recent version of Microsoft Office product installed)
ArcGIS Pro Login Instructions
Step 1
Locate ArcGIS Pro on the Start menu and select Login
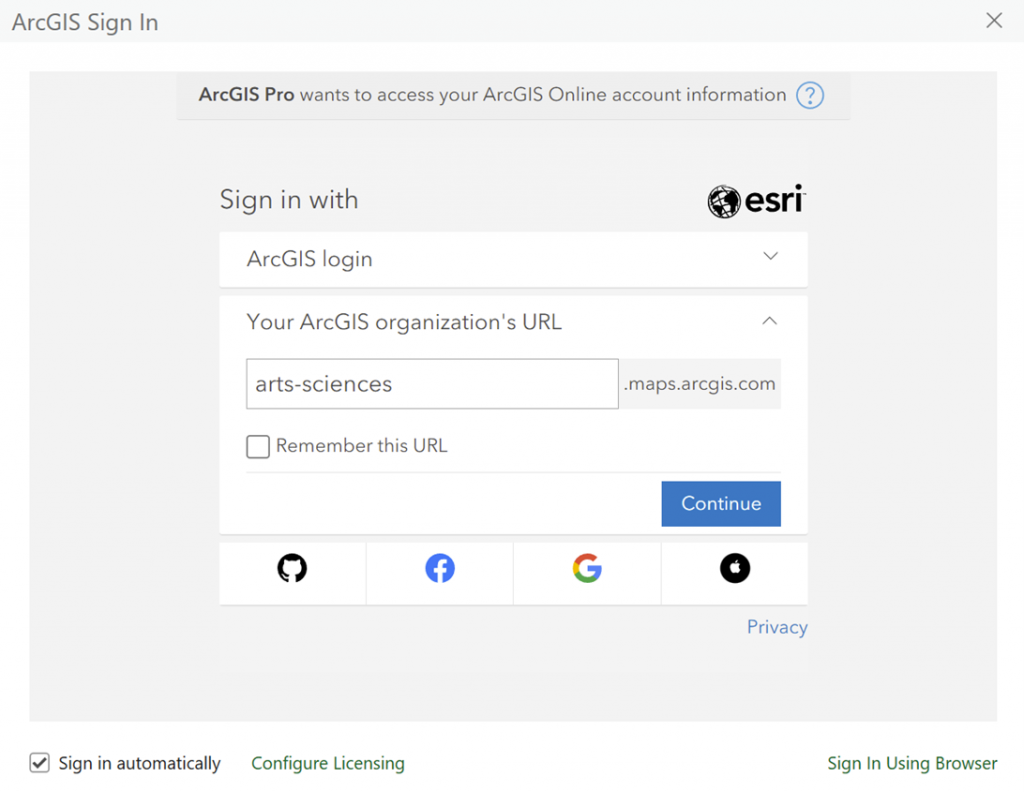
Step 2
For the ArcGIS organization URL, enter arts-sciences
Step 3
Select Continue
Step 4
Log in using your OHIO ID and password